
How to fill in the metadata fields (first step)
Once logged into your account, make sure you are on the ‘Items’ page seleced from the ‘My content’ menu link in the upper right part of the screen. Click the +Create a new button or click on an existing item in your account. You will be prompted to choose a group (institutional users) and an item type and can optionally upload files. You can also import files from a connected source like GitHub. A new tab opens with the full metadata entry form and you can make changes to any of the selections you made initially.
Uploading files is optional. You can create a linked record or a metadata only record if you are not uploading files. There are several ways to upload your research files, depending on the size. See the separate pages on upload options in the user guides.
Within the form, tips on how to fill out each of the fields can be viewed by clicking the ‘i’ icon in the gray circle to the right of each field. Any field with an asterisk (*) is a required field.
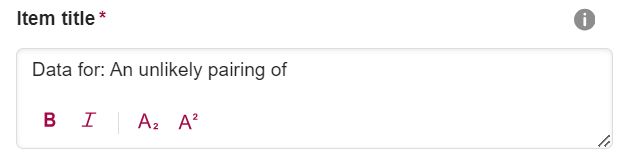
Title: Add a title that is descriptive. You can format the text as well
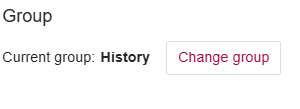
Group: **Institutional Users** If you are at an institution that uses Figshare, you may be able to select a group to publish your item into. You may see different metadata options depending on the group you choose.
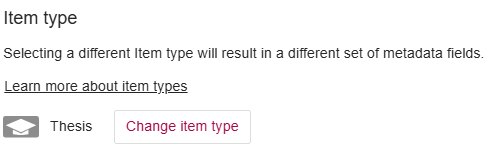
Item type: Select the Item type from the drop-down menu. Be sure to click the ‘i’ icon next to each item type option to understand which applies best to your files
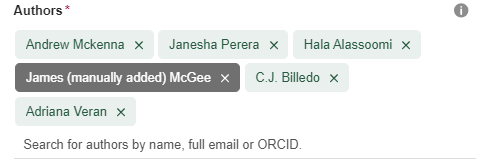
Authors: You can either search for authors with Figshare accounts (by name, email, or ORCID) or manually add authors. You can rearrange the order in which the authors appear and remove yourself as an author if you are uploading on behalf of someone.
Categories: These are taken from the Australian Fields of Research classification system. You can choose more than one and either select from the drop-down menu or search for your subject area. If you can’t find exactly what you’re looking for, we recommend finding the best option and getting more specific in the Keywords field.

With the Item Type Based Metadata release, Categories are no longer required to be a mandatory field, unless the institution chooses to make it mandatory.

Keywords: These should be more specific than the categories and will help others find your research. Add as many keywords as you want, 5 or more is excellent. Just hit enter after each keyword. Figshare remembers ones you’ve entered previously and will suggest keywords based on terms previously added to the database.

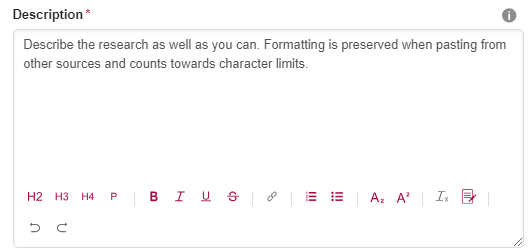
Description: This should include any relevant information that pertains to your research – like information about the methodology, approval for data collection, and legal or ethical requirements. Be as descriptive as you can! You can format the text and add links. Note that with the Item Type Based Metadata release, the name of the Description field, may change to Abstract, based on which Item Type is selected, such as Item Type: Thesis.
Funding: If you have funding, add it here. When typing in your funder information, Figshare will search the Dimensions database for your funder and hyperlink to the detail page for your grant connecting your research outputs and the funder. To add funding information that doesn’t appear in Dimensions, just type the funder information into the field and don’t select anything from the drop-down menu. Once you’ve published the item, people can click on the Funding information link on your item to see more information.

Related Materials: It’s important to add linkages to related research objects and provide context for how different pieces of research are related. Figshare uses DataCite’s standard relation types. Common relation types are ‘Is supplement to’ and ‘Is referenced by’. Both of these relation types are interpreted as a citation for the dataset in DataCite’s event data.
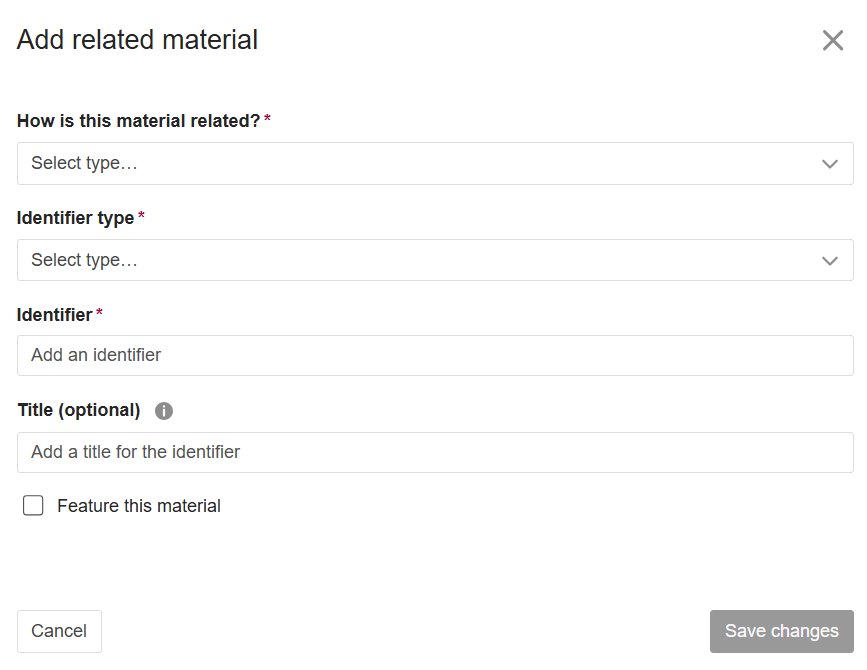
For example, when adding a dataset to Figshare, it may be pertinent to create a linkage to the related paper. To add a link to the related paper, under ‘How is this material related’, select ‘Is supplement to’, then choose the ‘Identifier type’ – ‘DOI’, then add the paper’s DOI. If you want to link to a related dataset or a Figshare Collection, use the ‘Is part of’ relation type.
If your data supports a published paper, be sure to add the paper’s DOI and use ‘Is supplement to’, which can help enhance the discoverability of the dataset. In this example, https://app.dimensions.ai/details/publication/pub.1044992699, a link to the Figshare dataset is visible in the Dimensions database record, as supplementary to the related paper.

After clicking ‘Add material’ you’ll see a pop-up screen where you can add details for the ‘related material’. The pop-up screen shown below is the version available with the new Item Type Based Metadata release.
Select a License. This will determine how others can reuse your data. You can choose from a number of licenses based on your reuse requirements. See the detailed section later in this guide.

If you are using Figshare through your institution, you may see additional custom fields to fill out.
In the upper right part of the page under ‘Item actions’:
Embargo: Optionally add an embargo that will expire automatically based on the date/duration you select. If you are at an institution using Figshare, you may have ‘restricted access’ options so you can let some people avoid the embargo (e.g. those who can authenticate at your institution).

Private link: This is useful for anonymous sharing, especially for peer review. See the detailed section on this elsewhere in this guide.

Reserve DOI (or Manage Identifiers): See the dedicated section in this guide for more details. If you do not do anything here, Figshare will add an identifier (DOI or Handle) for you automatically.

or
Edit the timeline (modify dates): Most users can only edit the ‘Online publication date’. The year from this date is used in the formatted citation on the public item page. If your institution uses Figshare you may also see Publication date and Acceptance date. See the dedicated section elsewhere in this guide.

Custom thumbnail: **Institutional Users** Optionally add a custom thumbnail. This is an image that will be displayed in search results. The image is not included with the files you describe with metadata – it is purely cosmetic and a way to make your research stand out. Figshare.com users can choose which file to use as the thumbnail via the API but cannot upload custom thumbnail images.

Check Open Access Policy This is only available at institution run repositories. This lets you select a publisher’s open access policy that you are adhering to when submitting a paper to the repository. It uses the Open Policy Finder (formerly Sherpa Romeo) from JISC.

Publish (or Submit for review if your institution enabled the review workflow): Before clicking this:
- Ensure your data does not breach any Data Protection laws or rules. Ensure you have removed any Protected Health Information
Ensure you have removed any identifying information
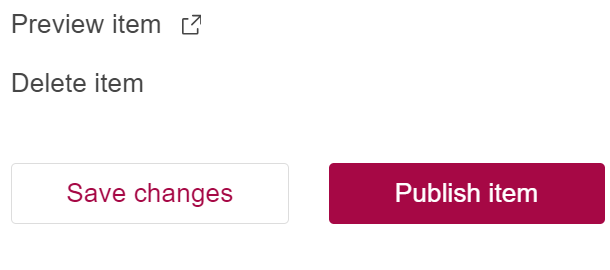
After clicking this button you’ll be prompted to check the license you’ve assigned and the terms of use. If your institution has review turned on, you will be prompted that your item will be sent for review before it’s made publicly available. Make sure everything you have submitted is accurate – once it’s published, it’s permanently available.
For more information, please visit our Figshare policies section.

