How to connect Figshare with your GitHub account
Setting up the integration
You can get set up in the Integrations section, also located in the dropdown menu at the top right corner next to your name. Next, select Connect to GitHub on the GitHub tile.
You’ll be redirected to sign in to your Github account where you’ll authorize Figshare.
Importing from GitHub
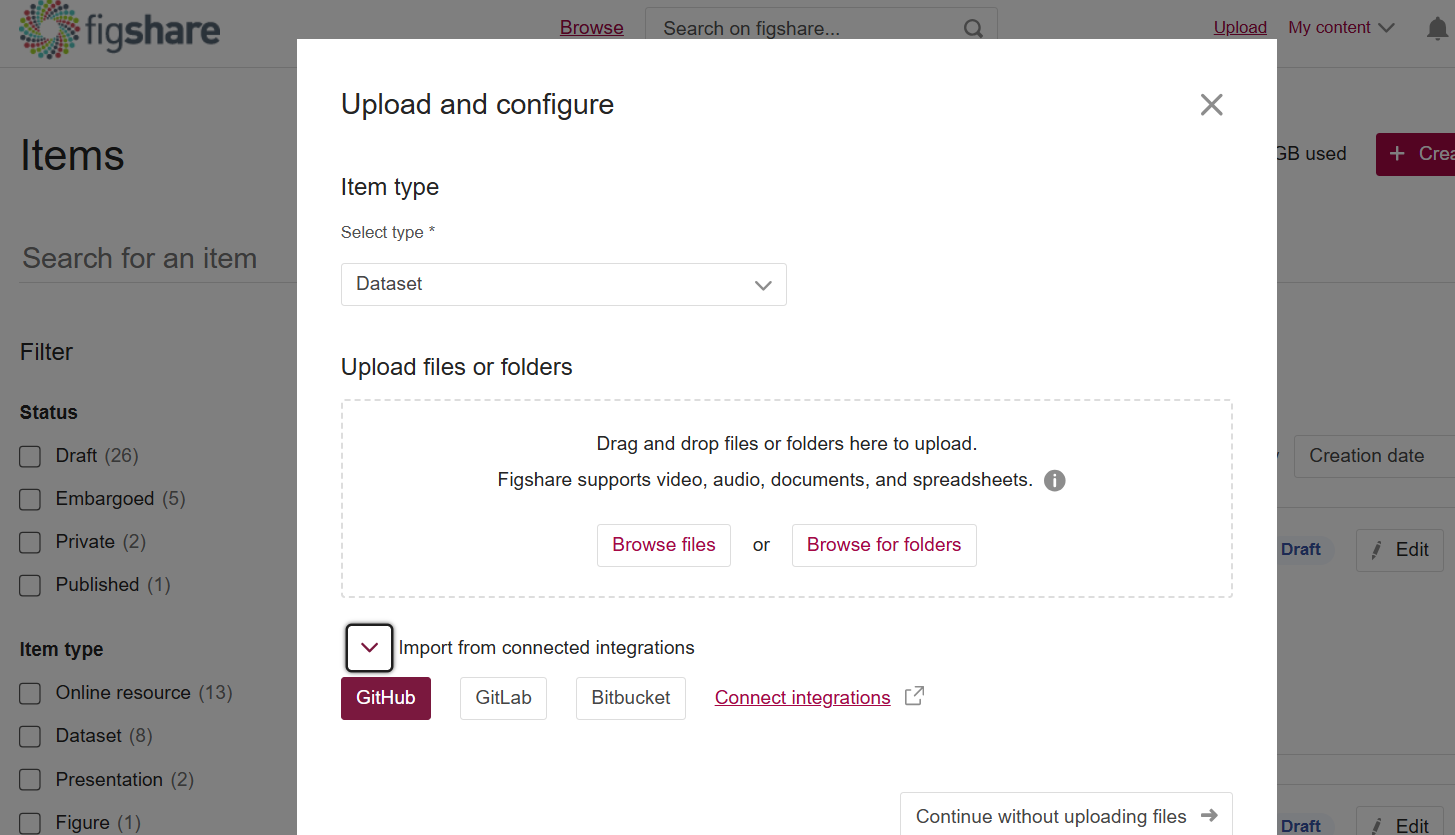
- Select an item type – this is required before the next steps
- Click the ‘Import from connected integrations’ arrow at the bottom of the window
- Select GitHub
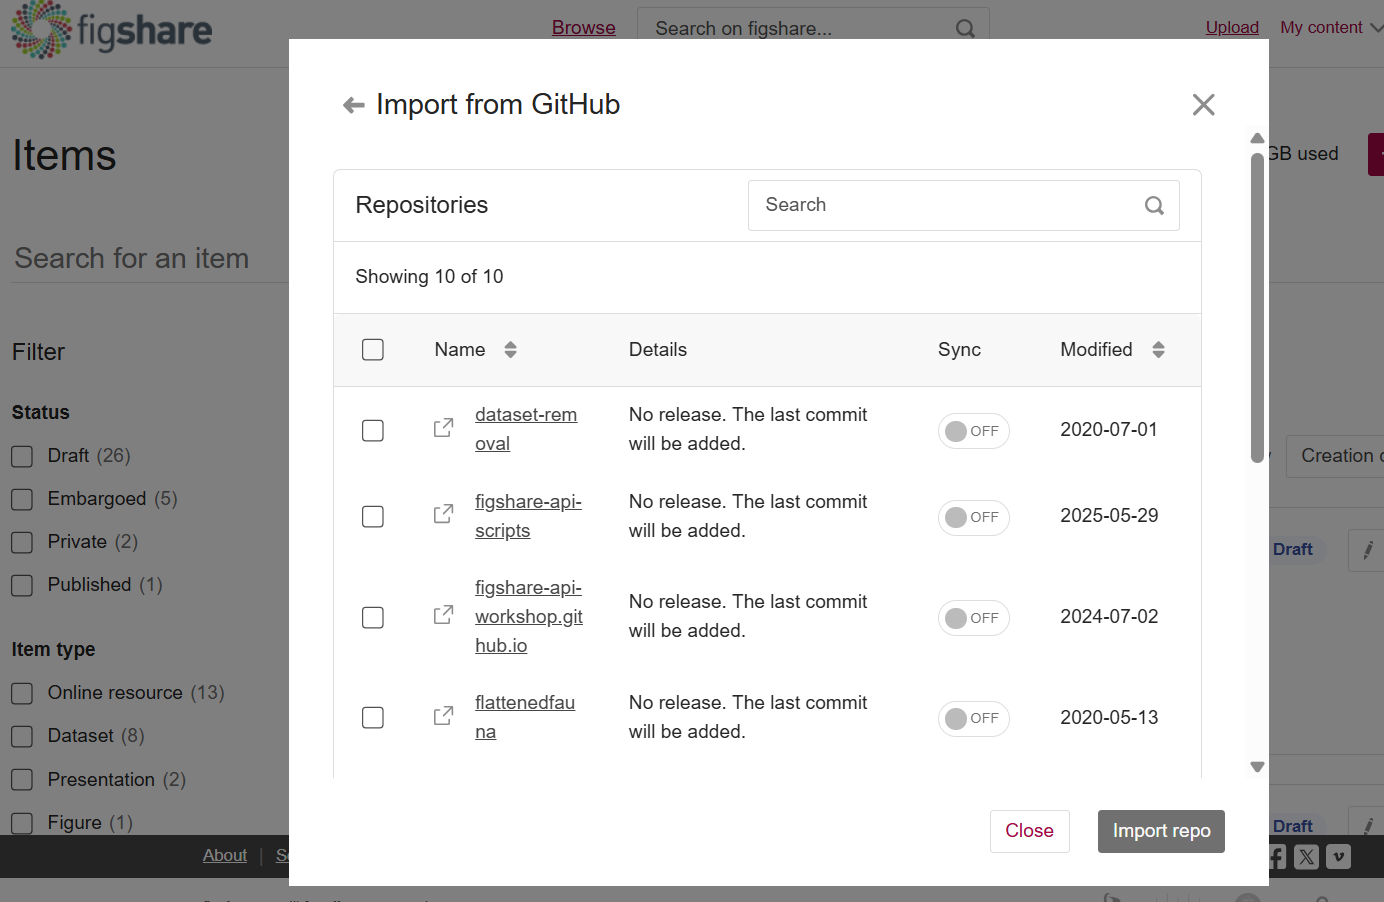
If your repository has multiple releases, you can choose which is the first release you’d like to import. You can choose to select multiple items at the same time and each GitHub item will create it’s own Figshare item. Upon import, we will automatically choose the article type, add a reference back to the original GitHub item, import the description and title from GitHub and set the default licence to MIT.
A key aspect of setting Github up via your Figshare account is that you can edit the auto-sync global settings for the Github integration. If you configure the auto-sync setting to ON, Figshare will automatically update for every release (for each of your imported repos) and this will only occur if your Figshare item is public. Each new release would generate a new version of your Figshare item.
Please note: Figshare will only create a new version for a release and not a single commit.
GitHub Upload Action
To help automate the publication step in GitHub-based research workflows, we’ve released the Figshare upload GitHub Action. You can incorporate the upload Action in your GitHub workflows and push your files into Figshare directly from GitHub. For details regarding the Action setup visit the GitHub repo page at https://github.com/figshare/github-upload-action.

