Upload large files and bulk upload using FTPS or the API
Note: Files that are not processed automatically within 30 days will be removed from FTP storage. Files should be processed automatically; however, a file may remain on the server if the storage quota is full, if the file exceeds the allowed quota, if the folder structure is incorrect, or due to other issues.
If you encounter any problems, please contact Figshare Support within this 30-day period to ensure a successful upload. Failure to do so may result in permanent loss of the files.
If your files are larger than 5GB, your browser may not be able to support the file transfer and you should consider the options described here. Please see the File upload options section of this guide for an overview and see the Account limits section of this guide for file number and size limits.
How to use the API
Documentation on how to use Figshare’s API can be found at https://docs.figshare.com/ and the API section(s) in this help site. Uploading files via the API requires scripting in order to process your files, access the required endpoints, and use your API token. The help resources include a full Python script that you can use with very few changes.
How to use the FTPS solution
Overview
You can easily and securely upload files into your Figshare account directly from your computer using the secure FTP uploader (including if you have an institutional account). To use this method, you will need to install an FTP client like Filezilla (but any FTP client will work).
Before you begin
There are some simple rules you need to follow when using the FTP uploader:
- Once you connect using FTP to Figshare, you will see a folder called “data”. The data folder is your home directory in Figshare.
- To upload your file(s) you need to create a folder first within the data directory. The folder name will become the item title. For example, if you have several files and you want to upload them into separate items — and get a DOI for each of them — you will need to make multiple folders. If you want to group the files together — with a single DOI for the set of files —, create a single folder and upload them all inside.
- You can’t copy sub-folders only files.
If you have multiple files grouped in sub-folders, you would need to remove the folder structure first, as Figshare won’t allow you to add folders in the item folder you’ve just created in the root directory. (If you add a sub-folder inside the folder, this will be ignored and its contains won’t be uploaded into your Figshare account). - The folder name you create has a maximum of 200 characters.
You can modify the title from My data in the Figshare interface later. After you rename the item title, you will still be able to upload files in the folder, even if it has a different name. - There are some characters that you cannot use, as they are not allowed by operating systems: / : * ? ” < > | ‘ { }
- You cannot upload a file called debug_log.txt or processed_files_log.txt.
- The FTP solution allows you only to upload files not delete. Deleting them is an action that must be performed from My data in the Figshare interface.
- You can only upload files to new Figshare items. You cannot update existing Figshare items.
- There is a limit of 5TB per file.
- All files uploaded to the FTP uploader will be deleted automatically after 10 days. If you encounter any issues with your upload, please contact support@figshare.com as soon as possible to resolve the issue to avoid losing the upload.
What you need
- Filezilla (or other FTP) installed and running on your computer.
- Your FTP username and password from Figshare.
- The Figshare connection settings.
Log into your target Figshare account, this will be a figshare.com account or an institutional Figshare account.
Go to the top right of the interface, click on your personal image and select ‘Integrations’ from the drop-down menu. This will bring you to the Integrations page where you can view your username and generate a password to use with the FTP application.
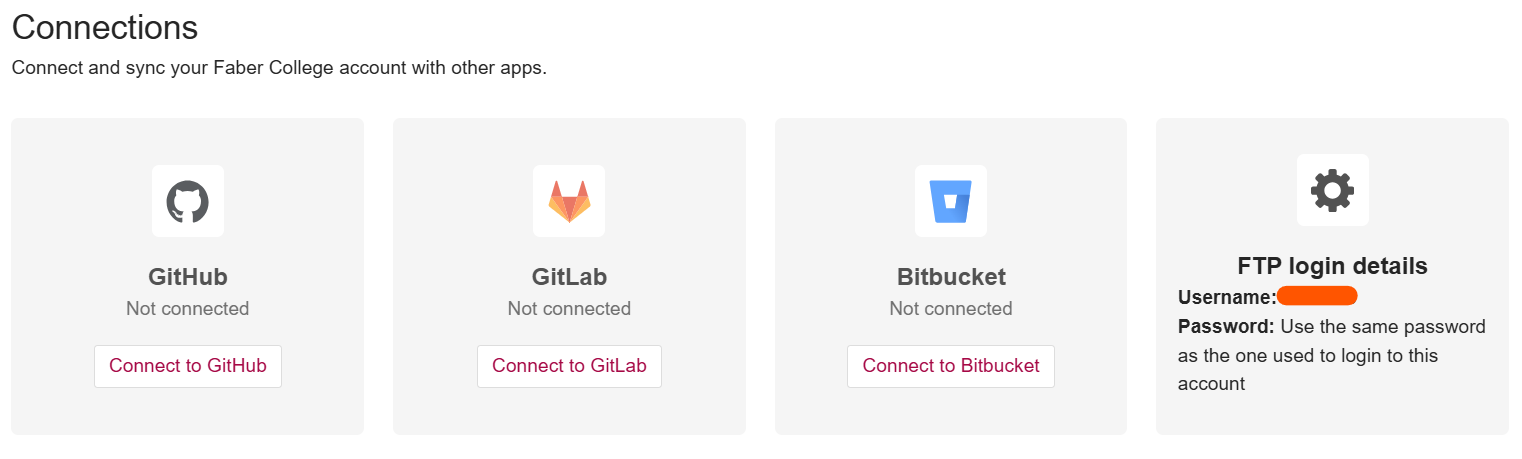
Username: You can find the username under the FTP login detail.
Password: If you have an institutional Figshare account (using SSO) you will need to generate a password, otherwise use the same password as the one you usually use to log in to Figshare.
Note: You need to store/copy this safely as it will not be displayed in the interface once you leave. However, if you forget it you’ll always be able to generate a new one. In this case, the old password becomes unusable.
Now open your FTP application and connect to Figshare following the settings below (for Filezilla).
Filezilla instructions
To create a connection in FileZilla you will need to use the site manager.
- Click File and open the site manager.
- Click the new site button.
- Enter a name for the new site (e.g. Figshare).
- Enter the following settings:
- Host: : ftps.figshare.com Port: 21 (if you’re using stage, please use ftps.figsh.com instead)
- Protocol: FTP – File Transfer Protocol
- Logon Type: Ask for Password
- User: The username you copied from Figshare (e.g. 23456788)
- Click the transfer settings tab. Then select Passive for the transfer mode,
- Click the connect button.
- You will be prompted for your password; enter it, and click OK.
- Right click in the right hand /data area of Filezilla and create a directory. This will be the location you copy your files into and will be the title of the item in My data in Figshare.

- Drag and drop files between the local folder on the left to the remote Figshare directory/folder you created on the right.
Note: You can only copy files not folders - The files will be processed immediately. After successfully processing the file(s), they are deleted from the folder and a log event is inserted into processed_files_log.txt, which is created on the fly. The log file is located in the item folder. Another log file is created debug_log.txt containing all actions for items/files.
After setting up the site in the site manager you can simply open the site manager and click the connect button. You will not have to enter your settings again.

